
Professional training · Masterclass
Master Light Training
A production lighting masterclass for photographers, filmmakers and visual teams
Light is not a technical aid. Light is a decision.
It decides whether an image feels ordinary or carries the force of a campaign. Whether a portrait merely captures a person or turns them into a character. Whether a location stays an empty space or becomes a set. Whether a brand looks cheap or premium.
Master Light Training is intensive personal tuition for professional photographers, filmmakers, cinematographers, art directors, production teams and 3D artists who want to truly command light. Not as a set of random tricks, but as a clear production system usable in commercial practice.
The training runs as a closed masterclass. This is not a mass photo workshop where participants take turns at a model and walk away with a few nice portfolio shots. The aim is to understand light in depth — to learn to read it, build it, control it, combine it and use it under the pressure of a real brief.
The course is built on the principle Freemason.cz uses in commercial productions. Every image begins with intent. Only then come light, space, atmosphere, technique, composition, working with the person and the final output.
Why it isn't an ordinary workshop
An ordinary workshop shows you finished light. This training teaches you how to get there.
We don't teach one setup. We teach decisions. How to read a scene. How to understand a face. How to find direction. How to use shadow. How to separate a person from space. How to create depth. How to get an image from an ordinary location that reads like a commercial campaign.
You'll see the difference the moment a real job arrives. A far-from-ideal room. Little time. Changing light. The client over your shoulder. Limited gear. An output that has to work for web, print and social.
That's exactly where it shows whether a photographer merely imitates light or truly commands it.
Training format
Two weekends. Four intensive days.
On request we prepare an extended three-weekend variant with cinematic lighting, work with a larger scene, atmosphere, colour, smoke, night locations, movement, a product set and a complete key visual.
Who the training is for
For those held back by light.
This training is for people who already photograph, film or create visual content and feel that light is the area holding them back.
It suits professional photographers who want to move their portrait, fashion, advertising, product, lifestyle, interior or location work forward. Filmmakers and cinematographers who want to better understand motivated light, atmosphere, colour contrast and working with space. 3D artists and visual designers who need to understand why some images read expensive, deep and cinematic while others stay flat.
The training also suits small creative teams, agencies or in-house brand productions that want to unify a visual language, speed up work on set and raise the quality of their output.
It is not for complete beginners who don't yet handle the basics of the camera, exposure, focal length and communication on a shoot. You don't have to be a master of technique, but you should understand the fundamentals and know why you want to move forward with light.
What you'll take away
Not diagrams. A system.
After the training you won't just know a few lighting schemes. That would be too little. You'll take away a system.
You'll know how to analyse a face, a figure, an environment and the mood of a brief. How to decide where the light should come from, how hard it should be, how deep the shadow, what should stay in darkness, what should be separated from the background, and how to add space, depth and dramatic control to the image.
You'll learn to decide quickly. When to use daylight, when to just fill it, when to suppress it, when to use flash, when continuous light — and when it's better not to light at all and only adjust the scene, exposure, direction of gaze or composition.
You'll learn to work so that light is never accidental, but defensible.
Why this training exists
Gear is not certainty.
Many photographers and creators have the gear but not the certainty. They own lights, softboxes, triggers, LED panels, modifiers, filters and stands. Yet in a tougher situation they hesitate. They don't know where to start. They add more lights even when the problem isn't their number. They raise the power even when the problem is direction. They change gear even when the problem is intent.
A strong image usually isn't born because you have more lights. It's born because you know exactly what the image should do.
So the training doesn't start with a gear brand. It starts with seeing — with the ability to recognise what the scene already offers, what it lacks and what must be removed. Only then do you build the light.
Teaching principle
A production laboratory.
Each block starts by explaining a principle. Then the principle is shown on a real scene. Next comes the gradual build of the light, an analysis of each decision and hands-on practice. Participants won't just stand around a finished setup — they'll understand why the setup exists, what would happen with a different choice and how to carry the approach to their own jobs.
Great emphasis is placed on mistakes. Not cosmetic ones, but the real mistakes that kill a commercial image: wrong light direction, a flat face, an illegible background, blown-out skin, dead black with no drawing, random colour temperature, unmotivated light, a scene without hierarchy, a model merging with the space, atmosphere leaning only on post.
The goal is for the participant to start directing light consciously.
Programme
Four days that make sense end to end.
Weekend one — the person, the face, the figure and control of light
The first weekend is built on the person. If you can't light a face, neck, shoulders, hands, silhouette and figure well, there's no point starting with a complex scene. This is where the foundation is built. Light must model the face — working with bone structure, the eyes, skin, the volume of hair, the jawline, the shoulders and body proportion. It must be precise, but not theatrical. Technically controlled, yet still human.
Day 1Seeing light and the portrait
Day one focuses on the perception of light itself. You'll learn to read light by direction, hardness, source size, distance, contrast, reflection, shadow falloff and colour temperature. We'll show why some light flatters a face and other light ruins it, why soft light sometimes doesn't read as luxurious, why hard light needn't be aggressive, and why shadow matters just as much as light.
Part of the day is work with a single light — not as a limitation, but as a discipline. One source reveals whether a photographer truly understands light and teaches you to see the direction, falloff, shape and effect of every centimetre of change. We approach the portrait on several levels:
Business portrait
Clean, trustworthy, representative light for a personality, company leader, expert or brand founder. Emphasis on the eyes, facial structure, calm and authority.
Civil portrait
More natural work with daylight, gentler contrast, less conspicuous technique, greater emphasis on authenticity and the model's relationship to the environment.
Dramatic portrait
Controlled contrast, deeper shadow, stronger volume, work with negative space and character. The power of presence, not an overdone pose.
Beauty portrait
Clarity of skin, drawing of the eyes, work with the highlight, subtle modelling of the cheekbones and control of texture — without a plastic effect.
Editorial portrait
Light that carries mood. Working with fashion expression, styling, colour palette, gesture, background and the psychological distance of the model.
In the practical part we build light from the absolute minimum to more complex setups — when to add fill, when negative fill, when a rim light, when to separate from the background and when another light starts to weaken the image.
Day 2Figure, movement, fashion, advertising and the commercial portrait
Day two expands the work from the face to the whole figure. Lighting a face isn't enough — a commercial image has to work with the body, clothing, hands, stance, silhouette, the space around the model and the way light leads the viewer's eye.
We'll tackle how light affects proportion. How to lengthen a figure without distortion, how to work with shoulders, neck, waist, legs and hands, how to create a firm vertical line and how to light clothing so it has structure but doesn't look cheap. How to control sheen, black fabric, skin, technical materials and white parts of the styling. And the background isn't filler behind the person — it's part of the image.
Fashion editorial
Light as a tool of elegance, tension, silence and character. Working with pose, hands, gaze, negative space and the texture of the garment.
Catalogue and commerce
Clean, repeatable, technically stable light. A result usable for a real job, a product series or a collection.
Athlete and body in motion
Light that supports physique, performance, muscle structure, sweat and tension — harder light, side light, rim light, freezing movement.
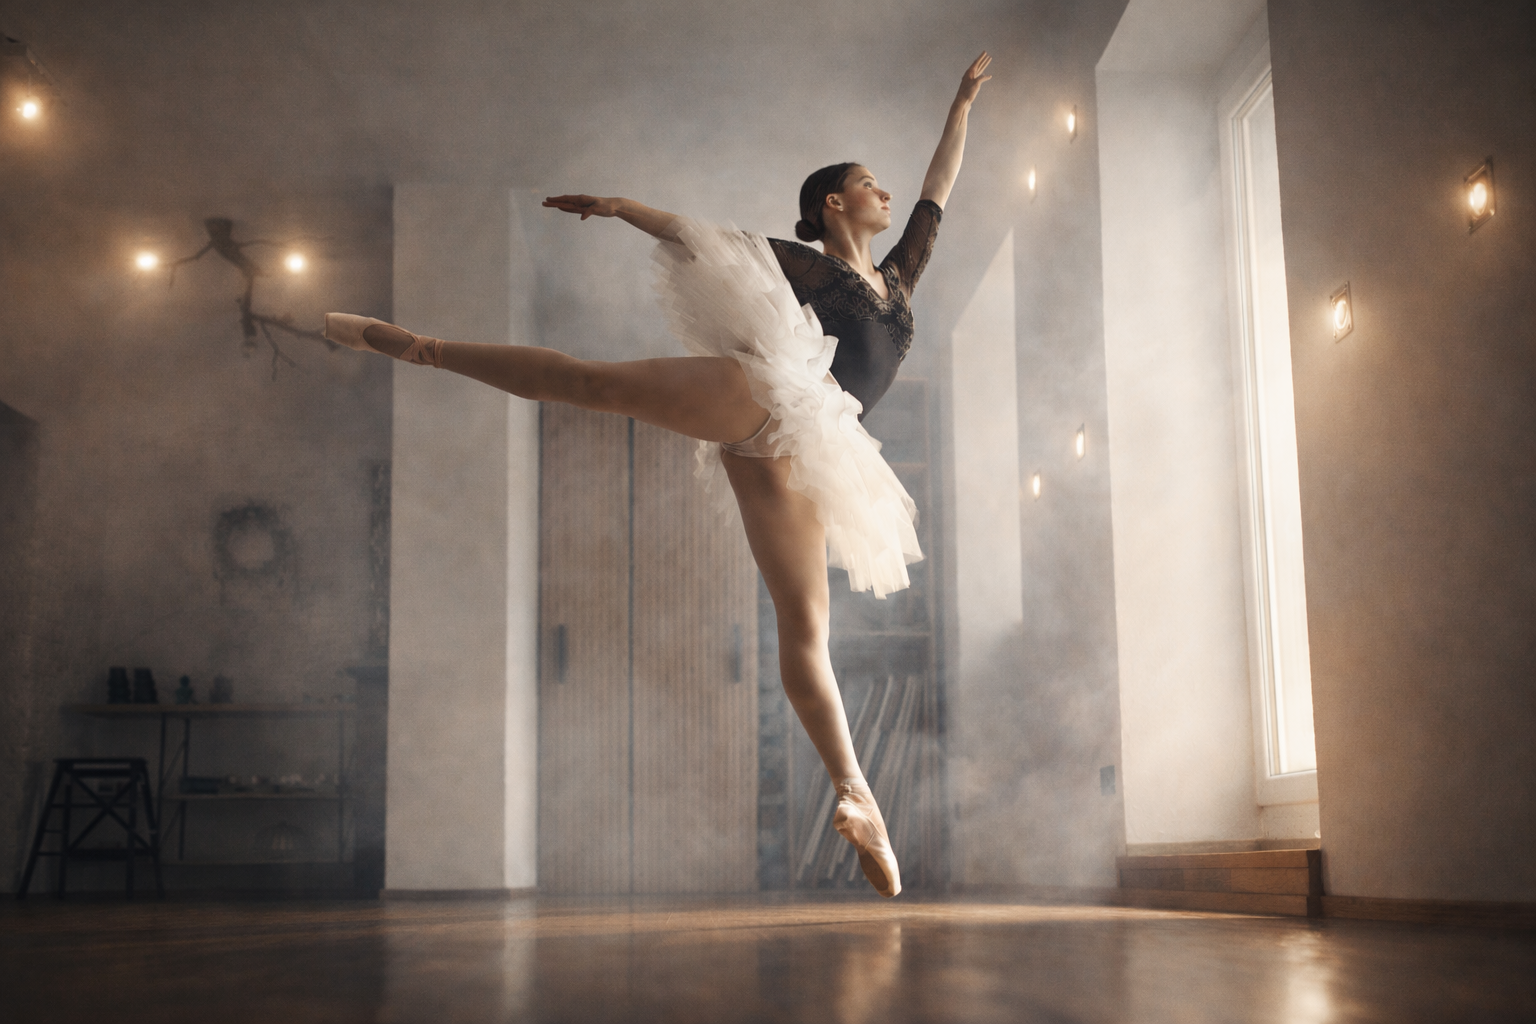
Movement, dance and dynamics
How to light a model in motion so the light holds shape. Anticipating the axis of movement, dynamics without chaos, flash and continuous light.
Strobe and effect lighting
Working with a stronger light trail, a movement sequence and rhythm. A controlled visual tool, not effect for its own sake.
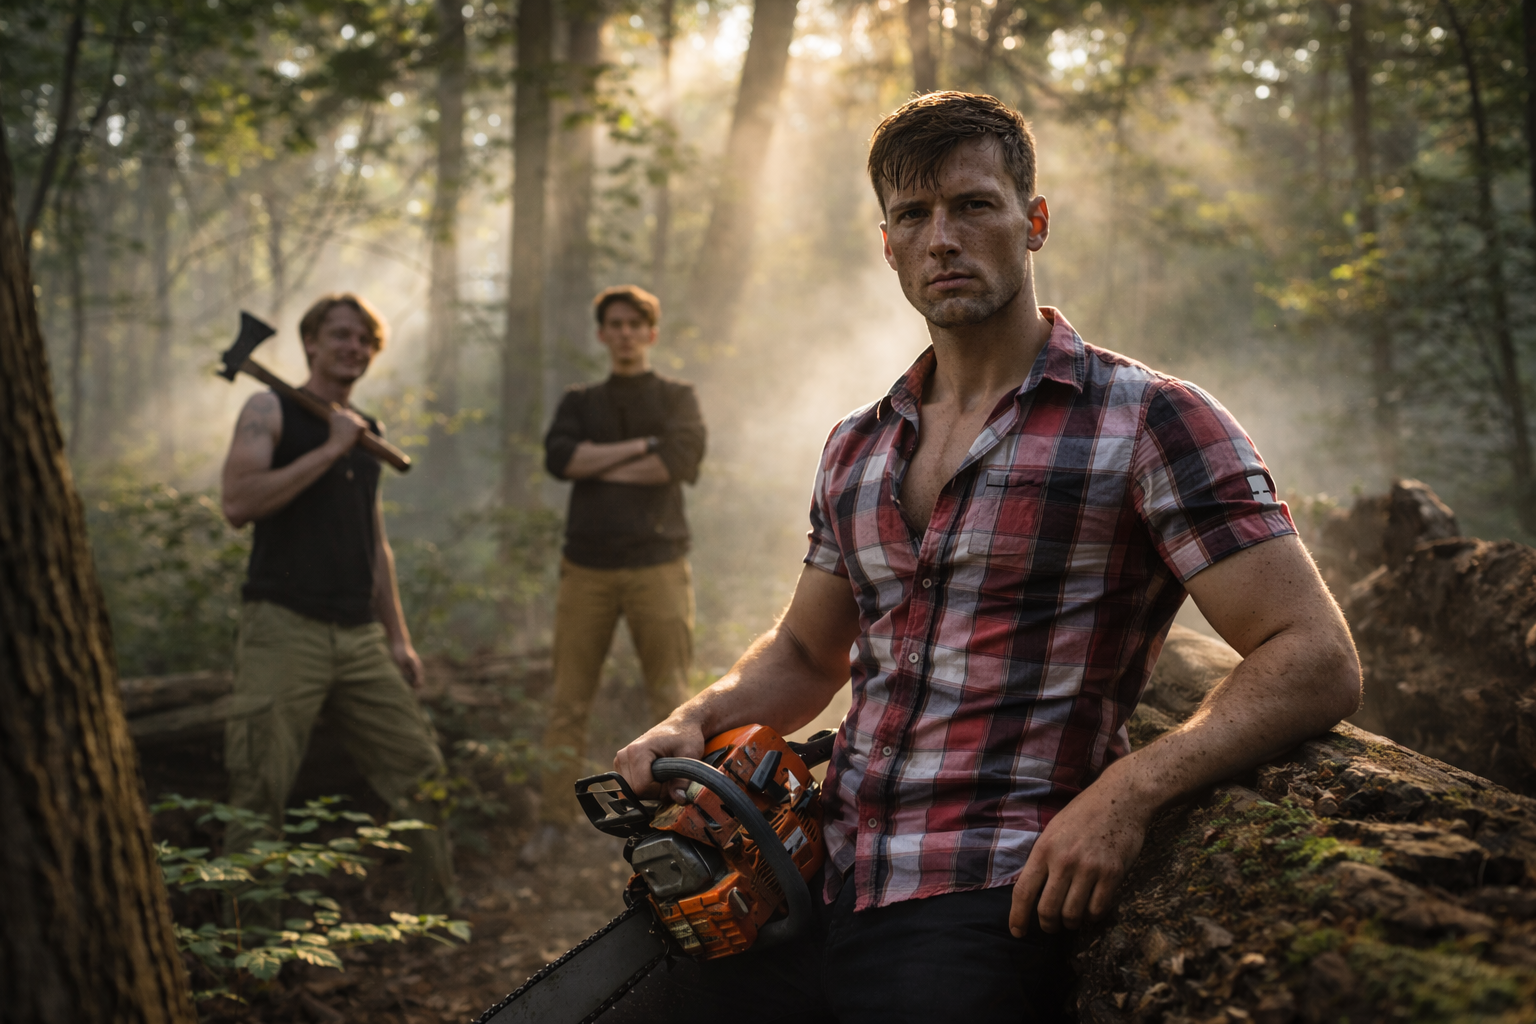
Between the weekends — a practical assignment and feedback
Between the first and second weekend each participant or team receives a practical assignment. The aim isn't a perfect photo but to verify you can apply the learned system without the instructor's direct guidance — you'll prepare your own lighting brief, describe the image intent, propose the lighting logic and create a series of test shots. At the start of the second weekend we run an analysis: we assess not just appeal but intent, work with direction, contrast, colour, environment, composition and the ability to defend your lighting decisions.
Weekend two — space, location, atmosphere and the commercial scene
The second weekend moves the work with light beyond the person alone. This is where real production discipline begins. The image is no longer just a model and light — it's space, location, windows, practical lights, wall colour, reflections, depth, ambient sources, the weather, time of day, technical limits, logistics and the output format.
Day 3Interiors, motivated light and working with space
Day three is devoted to the interior. It may be small, bright, dark, low, high, luxurious, empty, cluttered or visually thankless. The photographer's job isn't to complain about the location but to recognise its potential and bring it out with light.
We work with the principle of motivated light — light must look like it belongs in the scene. You'll learn to tie artificial light to windows, lamps, doors, corridors, reflections and the natural lighting logic of the space. We'll tackle small rooms with no room for a light, large spaces where light gets lost, dark and bright interiors, glossy surfaces, glass, metal, wood, stone and coloured walls. Part of it is working with colour temperature — when to unify it and when to use it as an expressive device.
Lifestyle interior
Natural-looking light that isn't accidental — the image feels authentic but is precisely controlled.
Cinematic interior
Working with depth, separation, direction, atmosphere, colour contrast and motivated sources.
Window as the main source
How to use window daylight — soften, bounce, cut, narrow or supplement it with flash.
Practical lights in frame
Lamps, fluorescents, LEDs, screens, candles and light strips as the motivation of the scene.
Atmospheric haze
How to work with haze so it emphasises rays and depth but doesn't destroy contrast, skin and image clarity.
Day 4Exterior, changing light and the larger scene
Day four is devoted to the exterior and working in changing conditions — the most demanding discipline, because the photographer doesn't have absolute control over everything. The sun moves, the sky changes, wind complicates modifiers, time runs, the team waits, the client wants a result. The aim of the day is to learn to work with what's happening, not against it.
We'll tackle planning around the light — how to read a location before the shoot, find the direction of the sun, determine the best axis of the scene, prepare backup options and use the golden hour, harsh midday light, an overcast sky, the blue hour and darkness. You'll learn to combine daylight with flash and continuous light.
Exterior portrait
How to find flattering light even in a difficult location, separate the figure from the background, use shadow, reflection, negative fill and rim light.
Group on location
How to light several people without losing naturalness and keep the hierarchy, depth and readability of every figure.
Commercial scene
The image as output for a brand — where it will be used, what format it needs, what it must communicate.
Large location
A lighting plan for a bigger space — working with background, mid-ground and foreground, leading the viewer's eye.
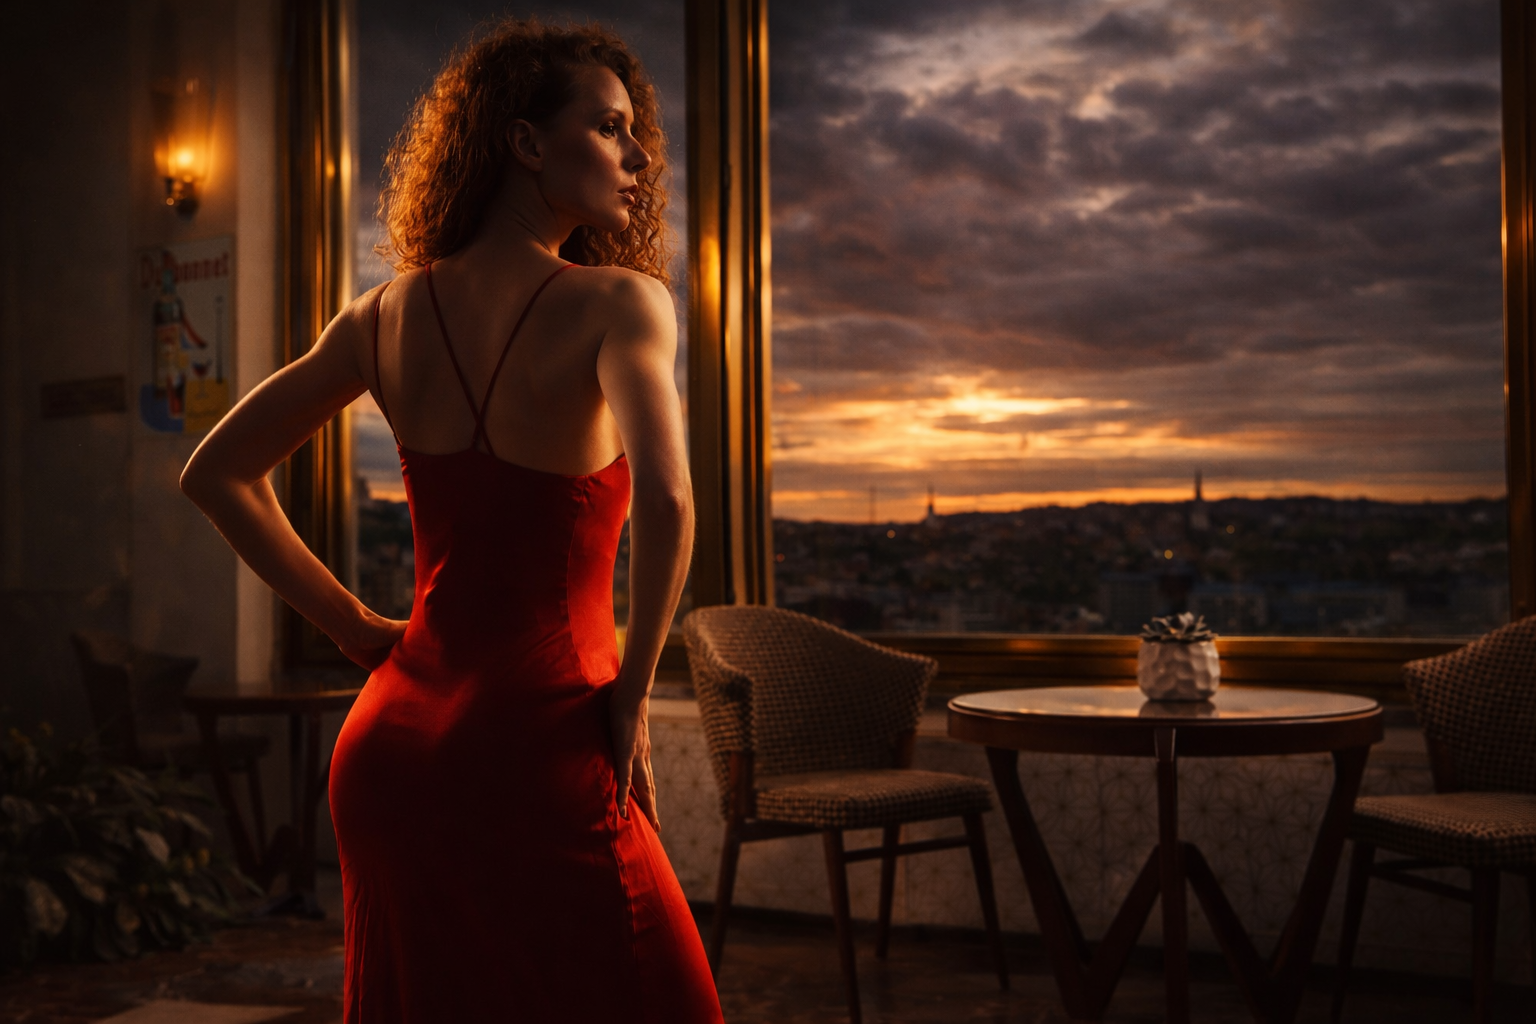
Night and evening scene
How to light in the dark so the result doesn't look like a randomly lit object — motivated light, practical sources, contrast and colour.
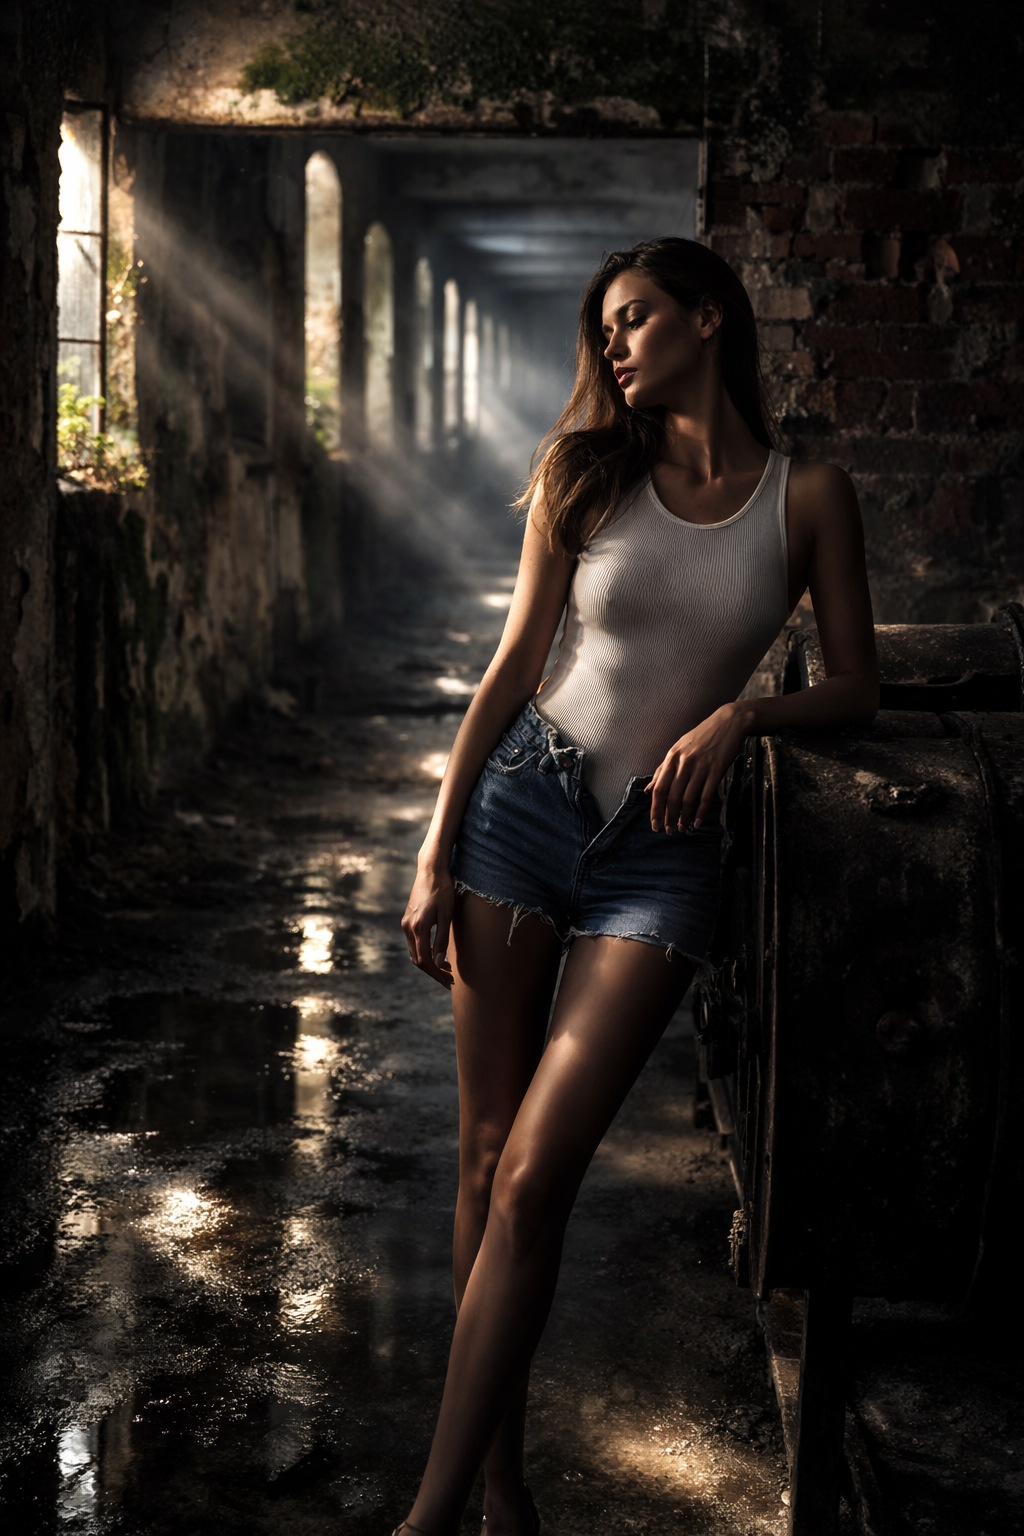
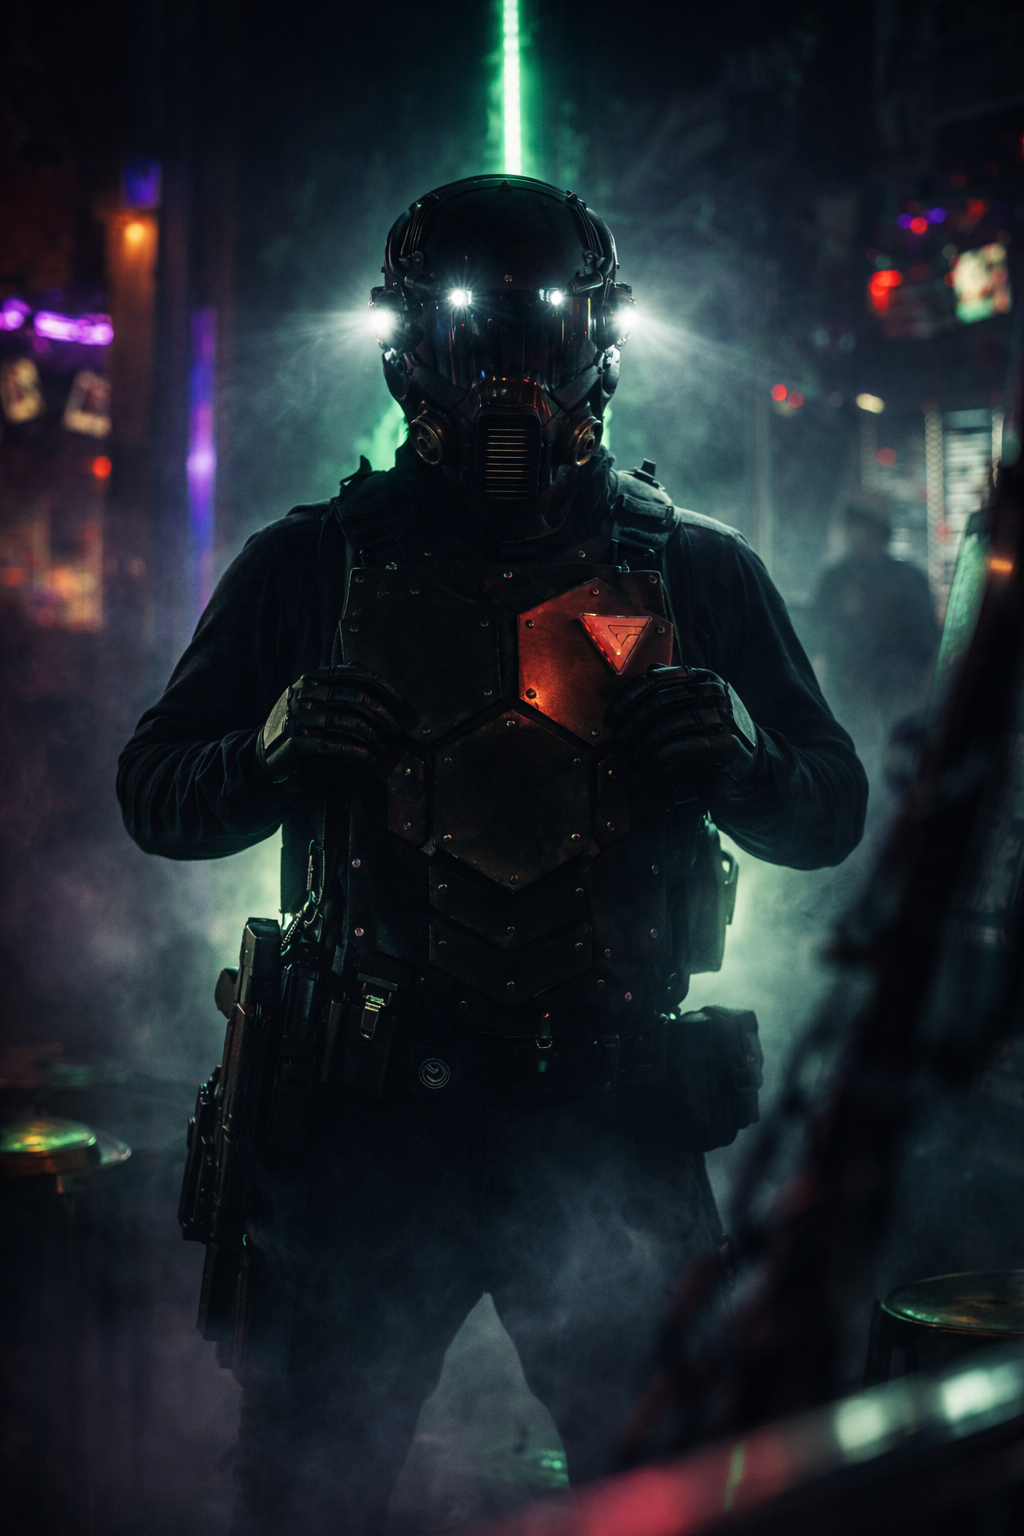
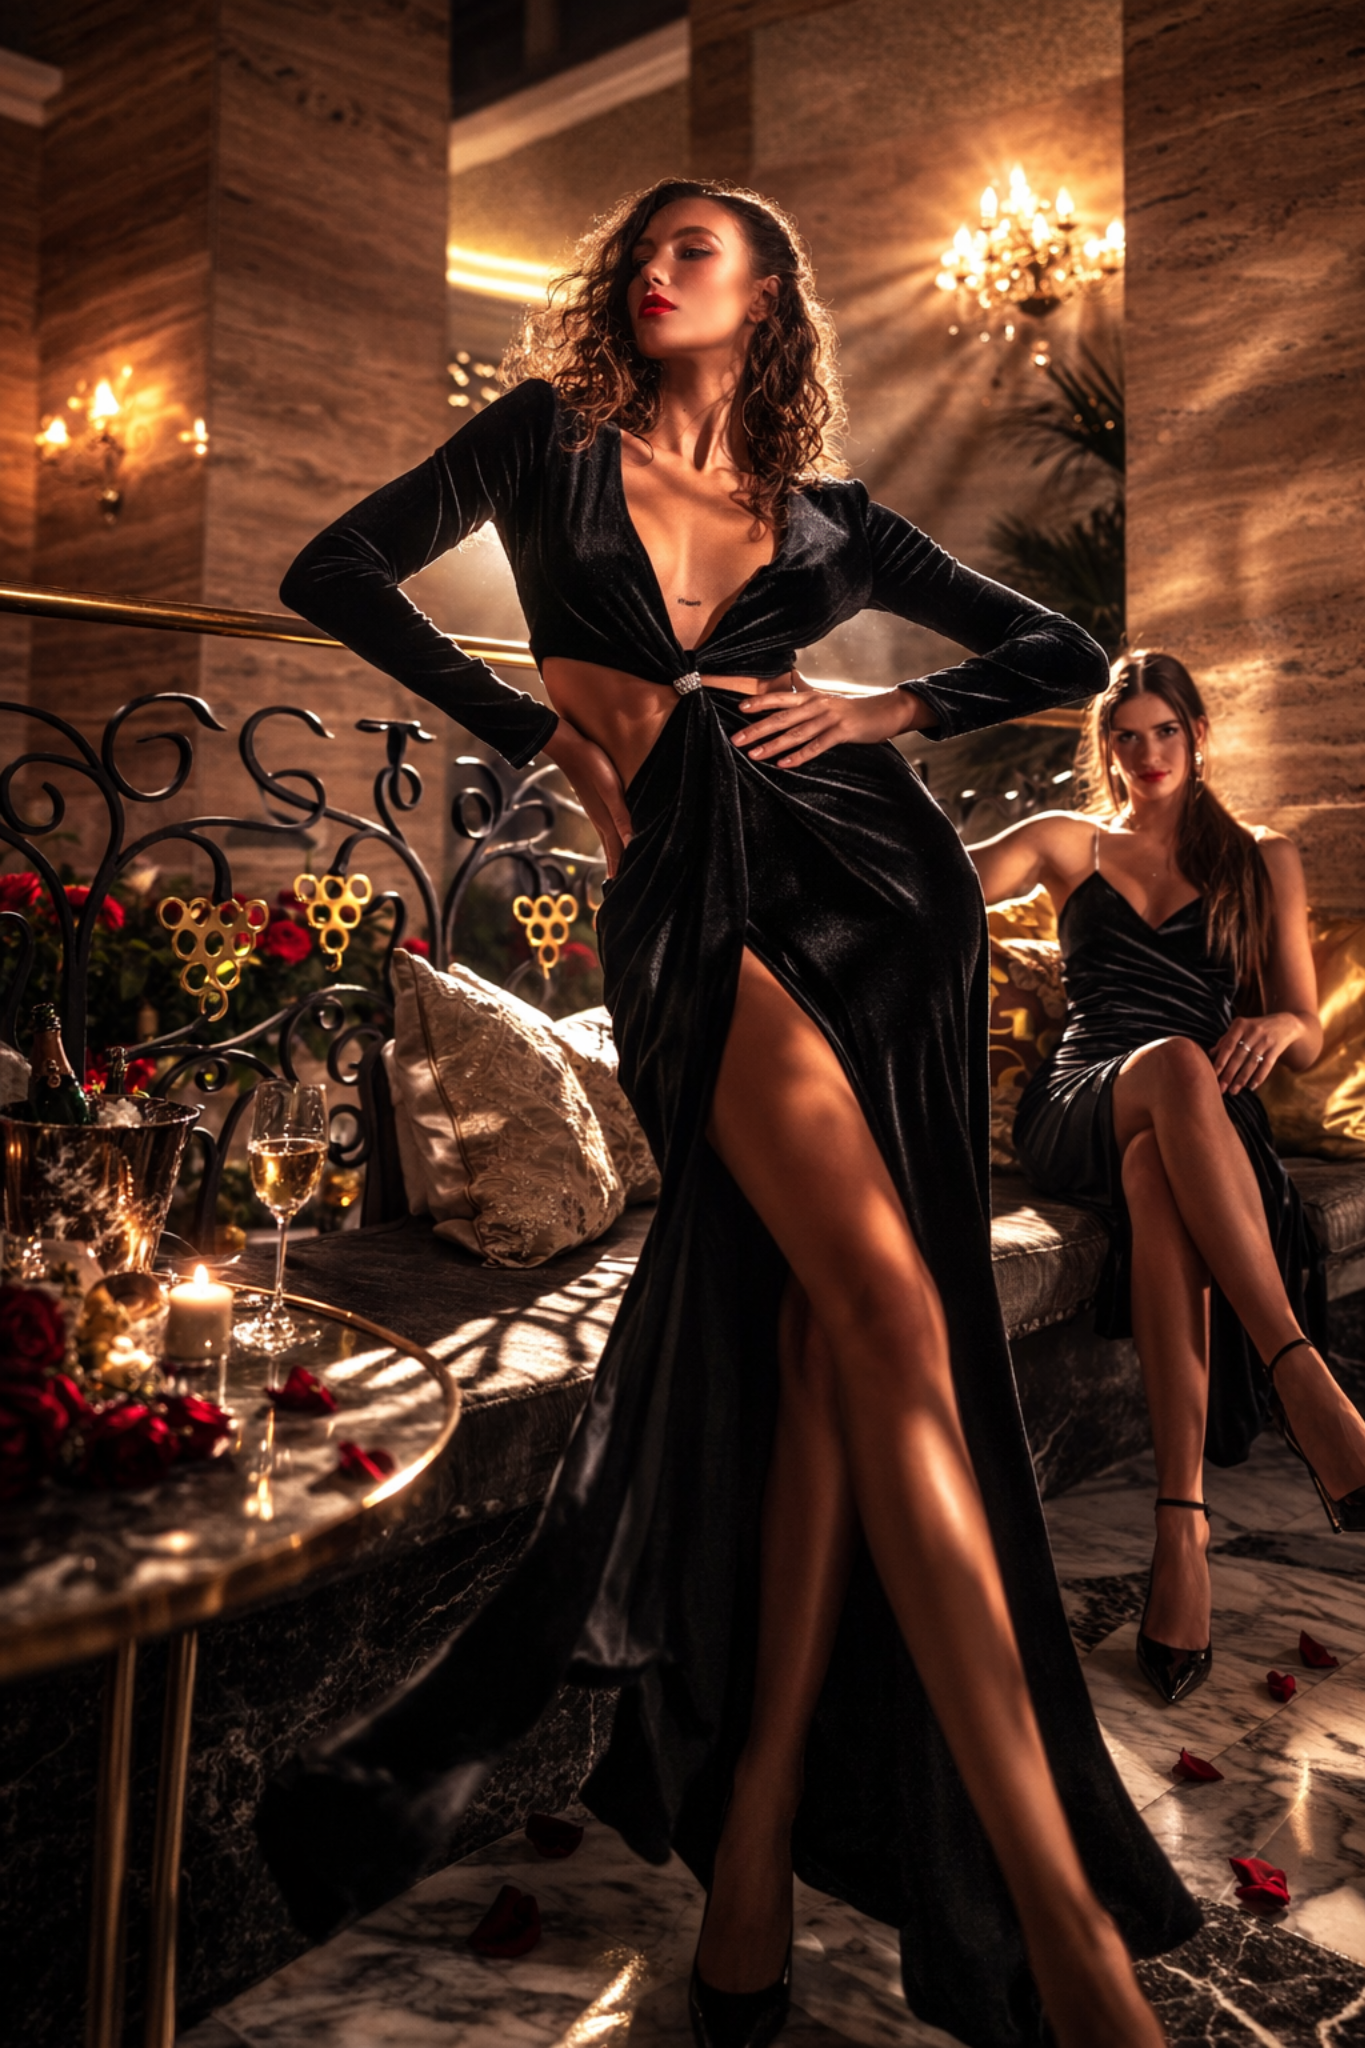
Extended three-weekend version — cinematic light and the key visual
For teams and creators who want to go even further, the training can be extended with a third weekend — cinematic lighting, big atmosphere, colour design, a more complex location and building the image at key-visual level. Here it's no longer just about how to light something, but how to create an image with instant visual impact.
Day 5Cinematic atmosphere, colour and lighting dramaturgy
Day five focuses on cinematic light. How atmosphere is built — not by effect, but by structure. Why some scenes read expensive and others merely over-coloured, how to work with warmth and cool, how to create a colour anchor, how to combine sources so the scene has depth but doesn't collapse into chaos. Part of it is working with haze, rays, harder light, side light, rim light, practical sources, low and high key, and an industrial location.
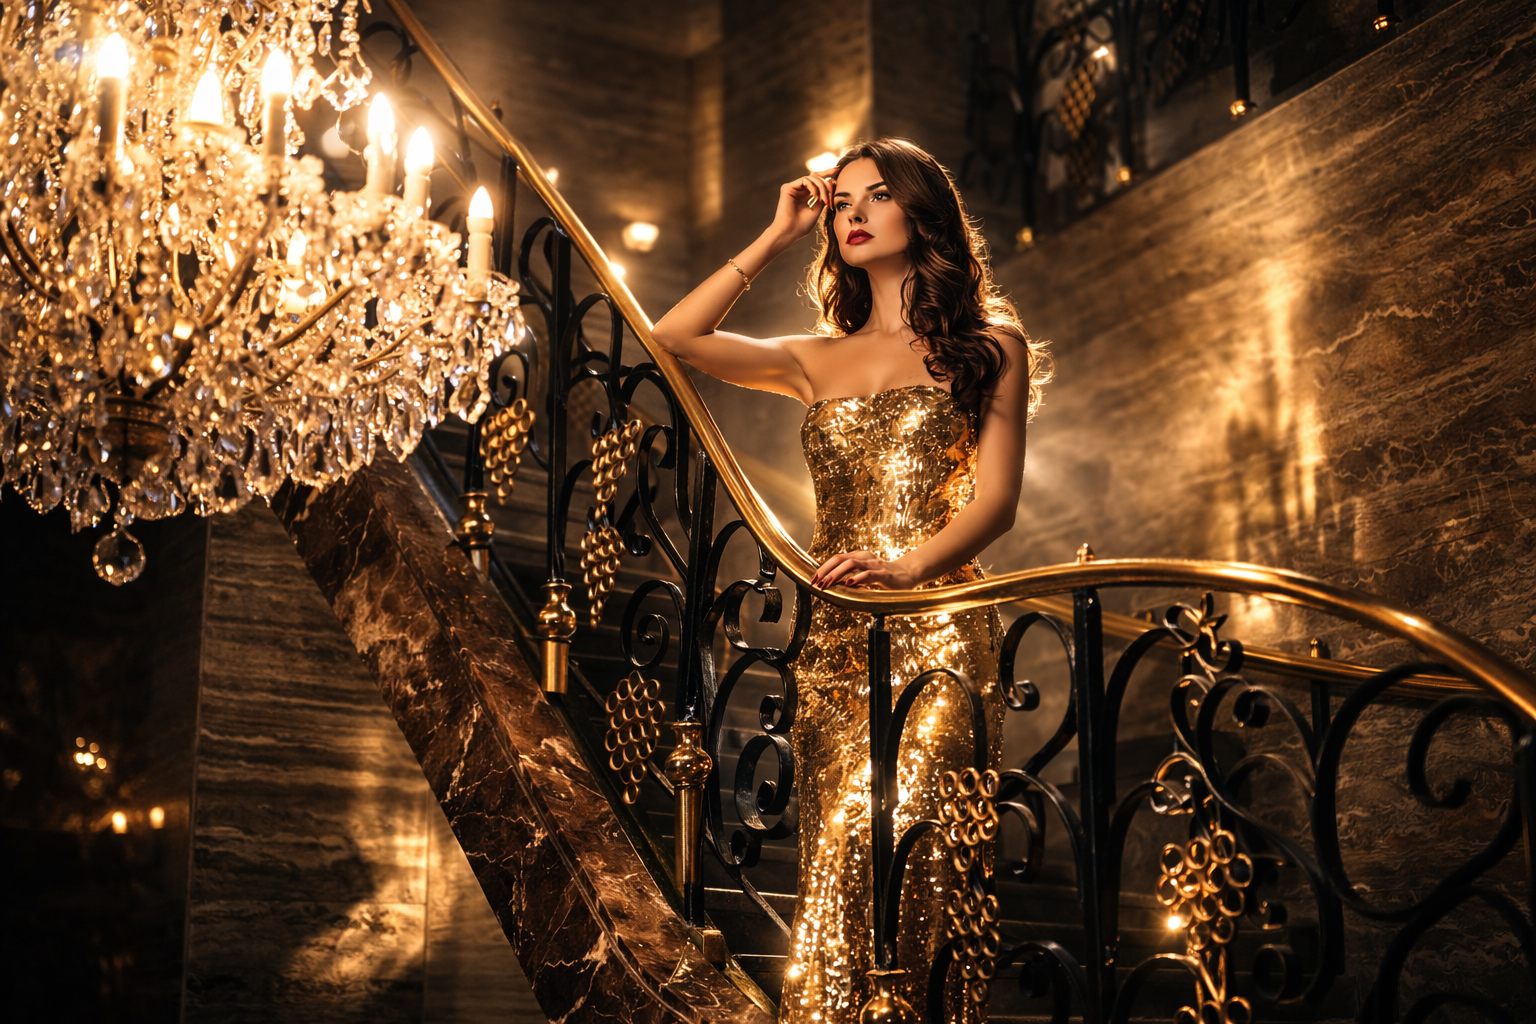
Luxury editorial
Refined light, a muted palette, gentle desaturation, firm composition and a strong human presence.
Dark cinematic scene
Deep shadow, separation of the figure, a motivated source, an atmospheric layer and controlled contrast.
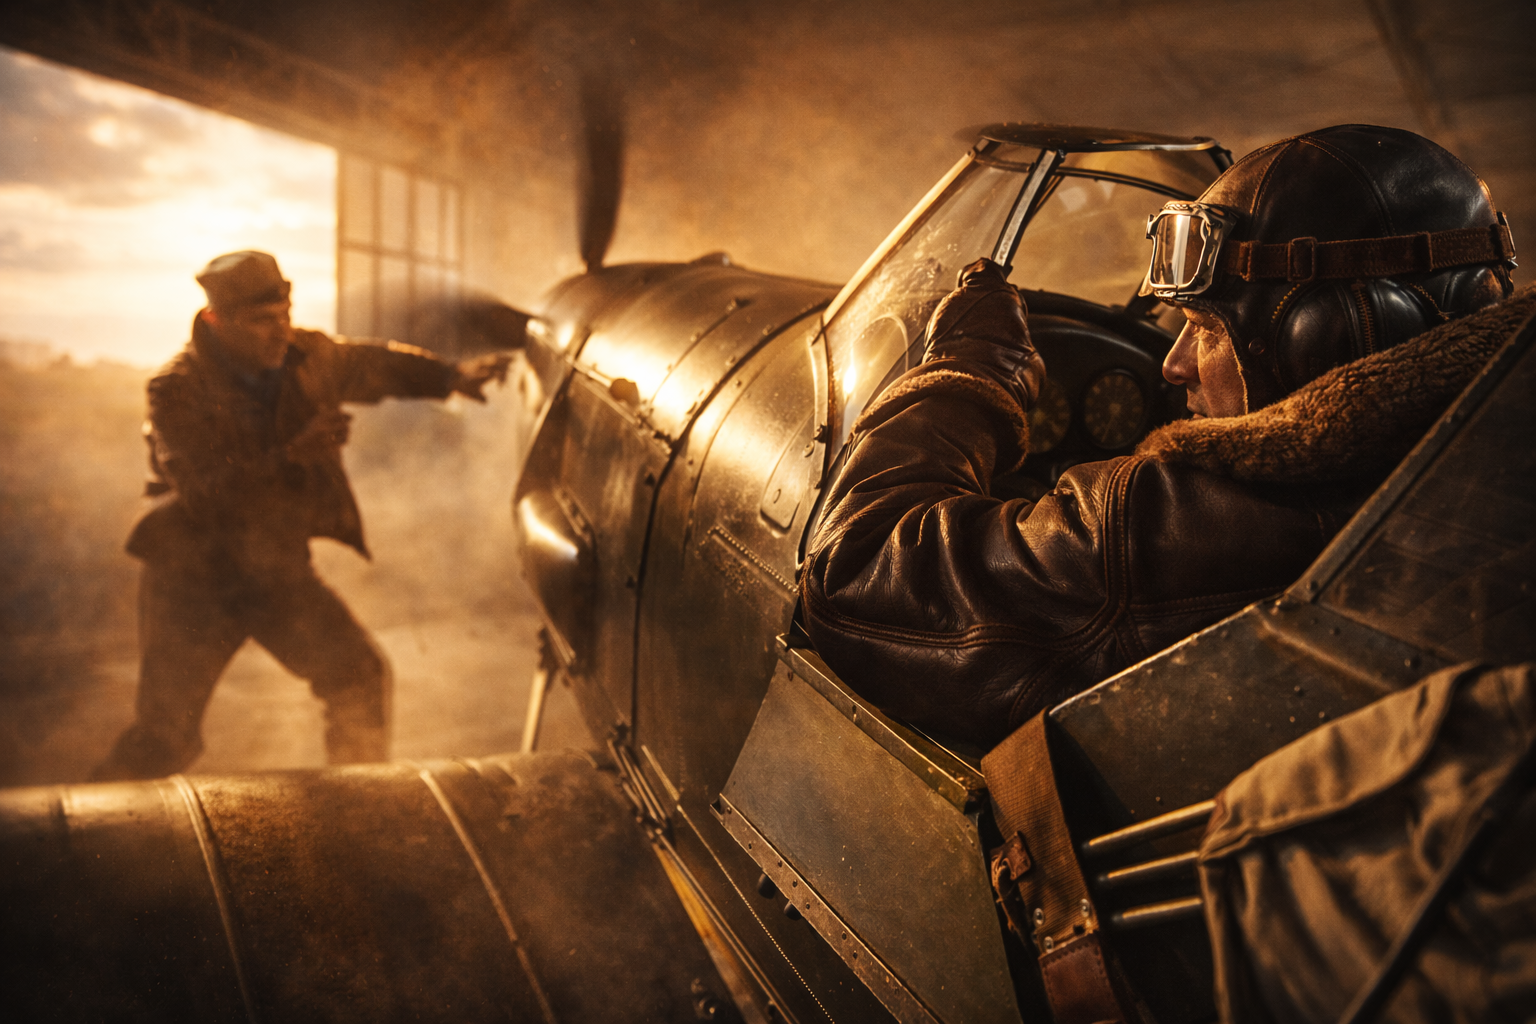
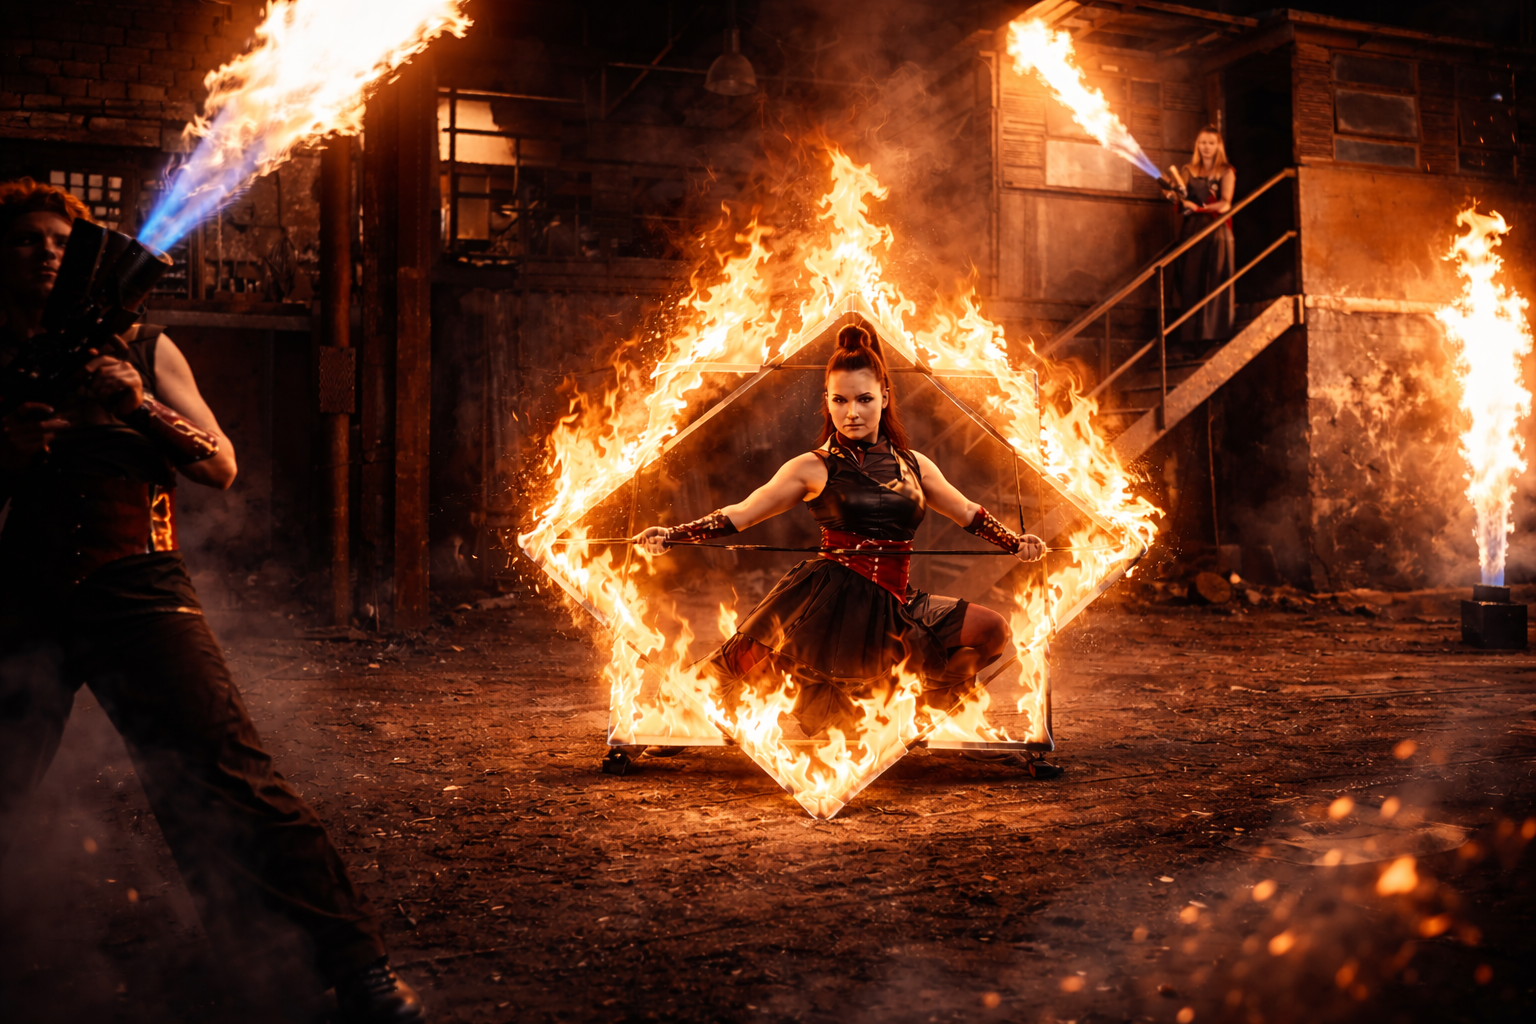
Industrial scene
Metal, concrete, smoke, harder light, technical texture and strong spatial depth.
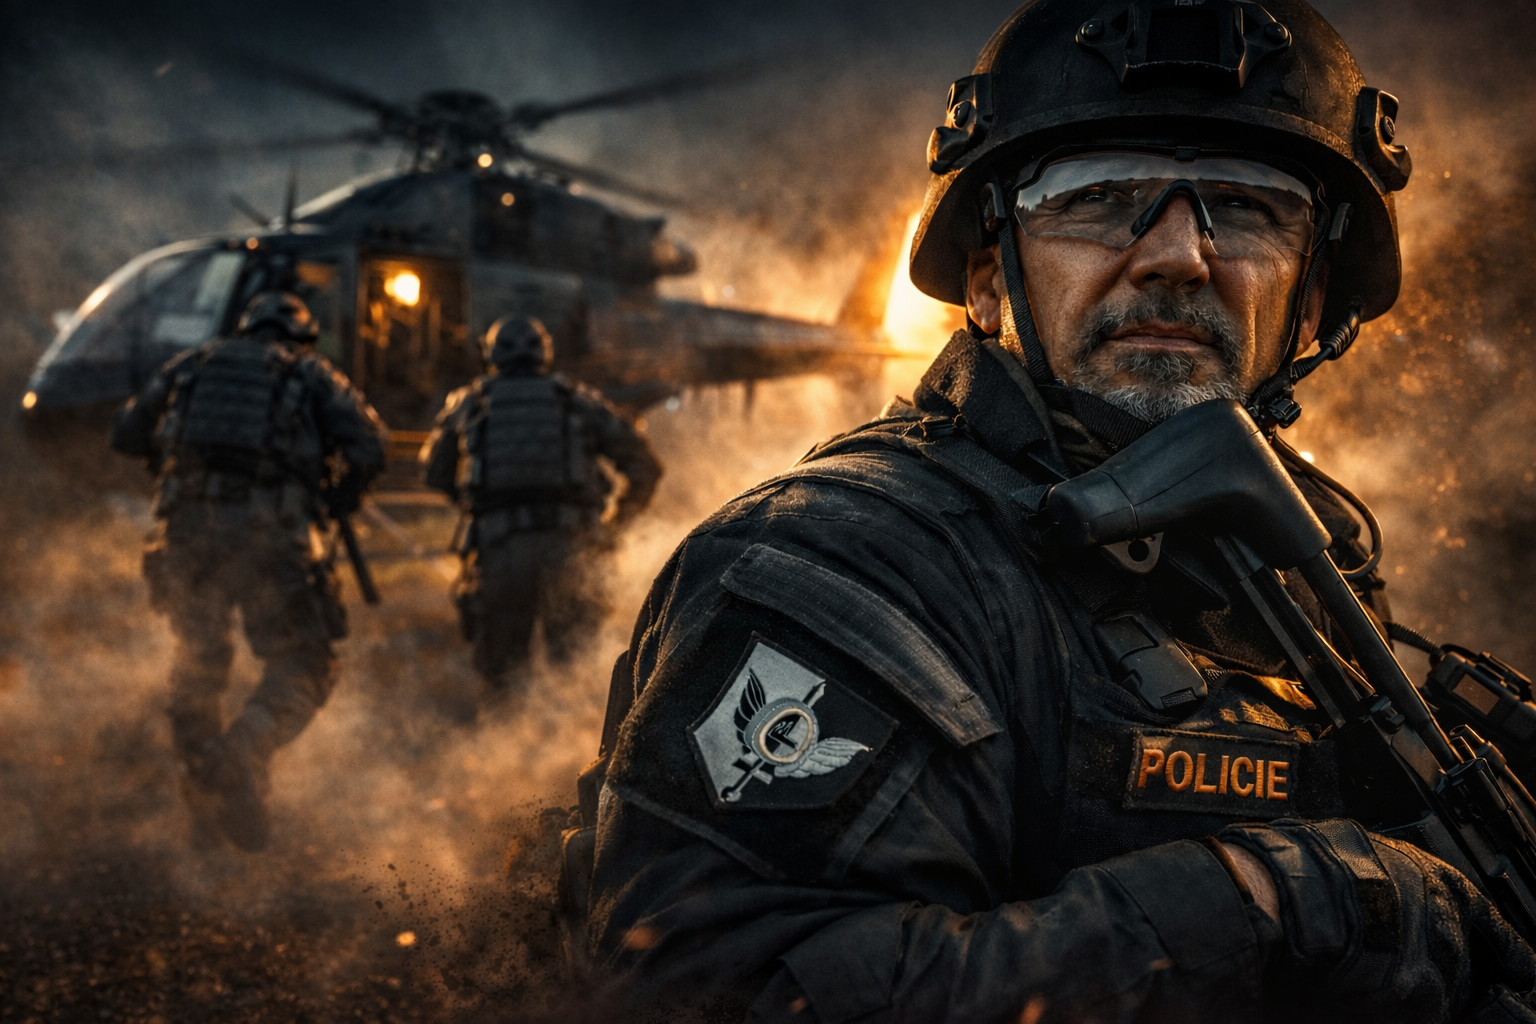
Tactical / action scene
Light supporting tension, equipment, materials, smoke, sparks, flash, movement and the real logic of the environment.
Product in atmosphere
How to light a product so it isn't isolated in a catalogue way but becomes part of a campaign.
Day 6A production key visual from brief to final lighting plan
Day six simulates a real commercial job. Participants receive a brief and must determine the visual direction, the target output, the format, the mood, the location, the lighting logic, the technical solution and the workflow. It's not just about shooting — it's about production thinking.
We'll tackle how a key visual is born — how to plan an image that has to work for web, print, social, a campaign, a banner or an agency presentation. How to think about crops, leave room for text, keep the main motif legible and create light that supports the brand. Part of it is the final build of the scene, testing the light, correcting the pose, working with the background, choosing the best angle and analysing why the final image works.
Detailed course content
Everything we cover.
Light as the language of the image
Perceiving light as a tool of communication. Light sets emotion, value, trust, drama, luxury, cleanliness, hardness, intimacy and distance. The same person can read authoritative under one light, civil under another, cheap under a third and dangerous under a fourth. The goal is to know what you're doing and why.
Direction of light
The fundamental decision — it sets the shape of the face, the depth of shadow, the volume of the body, the drawing of a material and the figure's relationship to space. Front, side, top, bottom, rim, three-quarter direction and combinations. For each direction: when it helps, when it harms and how to use it on a real job.
Hardness and softness of light
Soft light isn't automatically good, hard isn't automatically bad. What hardness means, how it relates to source size, distance, diffusion, reflection and the character of the shadow. Light for skin, clothing, technical materials, male and female portrait, beauty, sport and fashion.
Shadow as a tool
Shadow is often more important than light. Without shadow there's no volume; without control of shadow there's no depth. Negative fill, contrast ratio, light falloff, control of the dark areas, drawing in the black and how shadow supports character.
Lighting ratio and contrast
The difference between technical, visual and emotional contrast. When the image should be soft and open, when dark and tight, when clean and commercial, when dramatic and cinematic — always with precise control so the result never looks accidental.
The face and structure
The most demanding surface in an image. Eyes, nose, cheekbones, jaw, chin, forehead, neck, ears, hair, skin and asymmetry. Finding flattering light for a specific person, not copying a universal scheme.
Pose and light
A pose doesn't work without light, and vice versa. How light reacts to the turn of the head, shoulders, chest, hands and legs, how small changes in stance change image quality and how to direct a model so light works for them.
Daylight
The strongest and least obedient source. How to read, use, soften, bounce, block, supplement or suppress it — window, open shade, direct sun, overcast sky, rim light, golden and blue hour.
Flash
Flash isn't an emergency fix, it's a precise tool. Power, distance, modifiers, triggering, sync, freezing movement, overpowering daylight and combining multiple sources — so the light doesn't look artificial unless that's the intent.
Continuous light
Extremely useful, especially with a cinematic approach, video and motivated light. LED panels, Fresnels, COB lights, practical lights, tube lights, colour temperature, power, flicker — the advantages and limits.
Combining sources
Real locations rarely contain just one kind of light. Combining daylight, flash, continuous light, practical sources, reflections, colour temperatures and atmospheric layers — what will be the main source, what the fill and what must go.
Colour
Colour isn't a filter in post, it's part of the lighting plan. Colour temperature, contrast, complementary relationships, warm skin, cool shadow, a colour anchor, working with gels, control of green and magenta shifts and the influence of surrounding surfaces.
Background
It decides the value of a shot more than most admit. How to simplify, separate, darken, brighten, blur, colour, texture or suppress a background — and when it should play an active role.
Interior
A cramped space, a low ceiling, reflections, coloured walls, too little or too much light, windows, lamps, glass and glossy surfaces. How to make a quality image even where most would see a problem.
Exterior
Speed, planning and the ability to react. Changing light, weather, sun, shade, rim light, large surfaces, long distance, groups, movement and the lighting logic of a larger scene.
Atmosphere
Not a random effect, but the sum of light, colour, space, composition, expression, materials and depth. Fog, dust, smoke, rays, light accents, glints, lens flare, darkness and cinematic grading already on the shoot.
Commercial briefs
A running translation of light into real jobs — business portrait, fashion editorial, product campaign, lifestyle, sports visual, interior, group, night scene and key visual. Not just how to light, but why to light that way.
Post as part of light
Post doesn't start after the shoot but at the lighting plan. How to light with the final grade, retouch, contrast and RAW workflow in mind — preparing material so post strengthens it.
What the training is not
- It's not a course for beginners.
- It's not a group shoot of a model.
- It's not a collection of lighting presets.
- It's not a lecture about gear.
- It's not a chase for effect.
- It's not a universal recipe for one nice photo.
- It's a training where you try everything in practice — we tackle your real jobs and problems, and you learn to think about light, command it and put it to work in your own craft.
Price and what's included
Price
2 weekends · 4 training days · max. 5 participants.
The price is per participant. The training runs with a small number of people so everyone has enough room for their own work, individual guidance, feedback and solving specific problems from their own practice.
For a full closed team of up to 5 the total price is from CZK 160,000 excl. VAT.
3 weekends · 6 training days · max. 5 participants · cinematic light and key visual.
The extended variant is for participants and teams who want to go deeper into cinematic lighting, atmosphere, colour, working with a larger scene, a product visual, movement and building a production key visual.
For a full closed team of up to 5 the total price is from CZK 225,000 excl. VAT.
The priority is a small group or a closed training for a single team. That allows us to tailor the content to the real jobs, gear, level and visual goals of the participants.
The price includes preparation of the training, personal guidance, four intensive training days, work with basic lighting gear, practical light builds, error analysis, feedback, a consultation between the weekends and methodology materials.
Part of the training is work on model situations according to the chosen variant. The specific scope of locations, models, make-up, styling, assistance, special effects or technical provision is set individually per the assigned training.
The price does not include travel, accommodation, meals, premium rental of specific locations, external model fees, make-up artists, styling, special effects, pyrotechnics, a generator, a larger technical crew or production elements beyond the core training. These items can be added per the specific brief.
Practical information
What to bring.
Participants bring their own camera, the lenses they normally use, memory cards, charged batteries and a laptop for selecting and basic checking of output. A basic knowledge of manual exposure, RAW workflow, focal length and communicating with a model is recommended.
The training runs with a small number of participants so we can work individually. Each team or participant gets room to solve their own problems, their own type of jobs and their own visual direction. The date is set individually according to the availability of the team, the locations and the technical provision.
Why Freemason
The image as a production tool.
Freemason.cz doesn't build an image as decoration but as a production tool. Behind every strong output there is a lighting intent, work with space, an understanding of the brand, precise composition and control of the result from preparation to the final file. The same approach stands behind this training.
The aim isn't to show how one nice photograph was made. The aim is to hand over a system that lets you create stronger images repeatedly — in the studio, in an interior, outdoors, on a small job and on a campaign, in natural light, with flash, with continuous light, with minimal gear or with a larger production.
Light can be copied. But it's far more important to learn to direct it.
Before we agree
First we find out what you need to improve.
Every team has a different problem. Some can't work well with a portrait. Some lose control in an interior. Some can't combine daylight with flash. Some have the gear but lack a lighting system. Some need to move brand visuals up to campaign level.
Send us a short description of what you shoot or film, what gear you use and where you feel the biggest limit. We'll propose a suitable scope of training, number of days, type of locations and production complexity.
The training isn't a universal package. We build it to solve your real lighting problems.
Book the training
Request a date.
Want a closed training for yourself, your team or a production? Tell us briefly what you shoot or film, what gear you use and where you feel your biggest limit. We'll come back with a suitable format, date, scope and any extension for locations, models, styling or a cinematic scene.
The price is calculated per number of participants. For a closed team we tailor the scope of the training to the goal, level and production complexity.